Adding a custom domain
Point your domain's DNS to Lynkd and start using it for short links.
Adding a custom domain
Custom domains are available on the Marketer plan (1 domain) and Agency plan (unlimited domains).
Step 1 — Add the domain in Lynkd
- Go to Custom Domains in the sidebar.
- Click Add Domain.
- Enter your domain (e.g.
go.yourbrand.com). - Click Add.
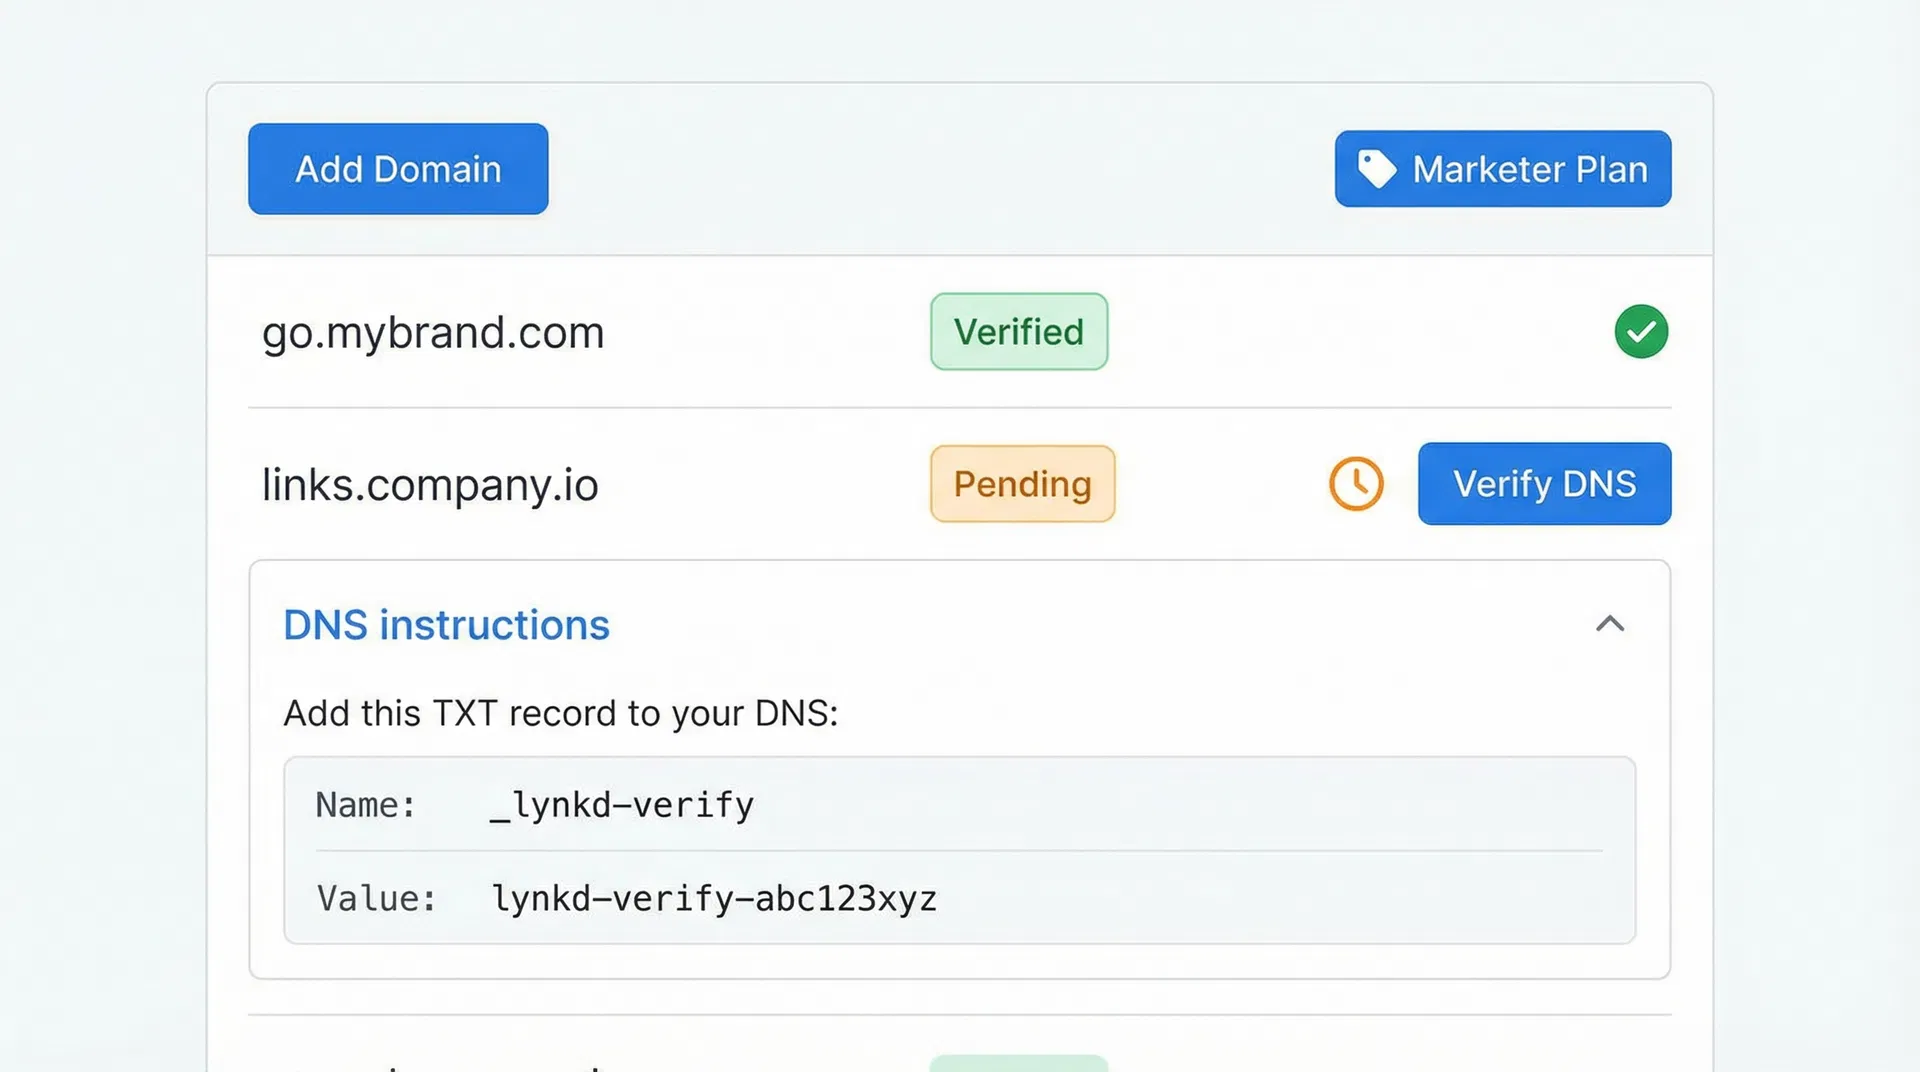
Step 2 — Configure your DNS
Lynkd will show you a CNAME record to add to your domain's DNS settings. The record looks like:
| Type | Name | Value |
|---|---|---|
| CNAME | go | cname.lynkd.ink |
Add this record in your domain registrar's DNS panel (GoDaddy, Namecheap, Cloudflare, etc.). DNS propagation can take up to 48 hours, but usually completes within a few minutes.
Step 3 — Verify
Once DNS has propagated, return to Custom Domains and click Verify. Lynkd will automatically provision an SSL certificate for your domain.
Using your custom domain
When creating a new link, select your custom domain from the Domain dropdown. The short URL will use your domain instead of lynkd.ink.
Note: Existing links created with
lynkd.inkwill continue to work even after you add a custom domain.
Was this article helpful?
Still stuck? Contact our support team